Can I Use External Camera On Laptop For Video Calls
Yes, you can absolutely use an external camera on laptop for video calls, and it is one of the best upgrades you can make. A usb camera or HDMI camera connects easily and gives you much better video call quality than most built-in webcams. Whether you work from home or attend online classes, an external webcam setup transforms your presence on screen. This guide covers compatibility, setup steps, top picks, and common mistakes to avoid.
Have you ever joined a video meeting and felt embarrassed by the blurry, grainy image your laptop camera gives you? You are not alone. Many people deal with poor built-in webcam quality every single day. The good news is that you can fix this problem fast. Using an external camera on laptop is simpler than you think.
Whether you are a remote worker, a student, or someone who loves streaming, an external webcam changes everything. You get sharper images, better colors, and a professional look every time. In this article, we will walk you through everything you need to know. We will cover how to connect a usb camera, which models to pick, and how to get the best video conferencing experience. Let us dive in.
Key Takeaways
- Easy Plug and Play: Most external cameras connect via USB and work instantly with no extra software.
- Better Video Quality: External cameras offer higher resolution, better low-light performance, and sharper images than built-in laptop cameras.
- Wide Compatibility: External webcams work with Zoom, Teams, Google Meet, Skype, and most video conferencing apps.
- Privacy Matters: Many external cameras include physical privacy shutters for added security.
- Setup Takes Minutes: You can have your external camera up and running in under 10 minutes with simple steps.
📑 Table of Contents
- Why Use an External Camera on Laptop?
- Types of External Cameras You Can Use
- How to Connect an External Camera to Your Laptop
- Quick Tips for the Best Video Call Experience
- Top External Cameras for Laptop Video Calls
- Common Mistakes to Avoid When Using an External Camera
- Expert Insights on External Webcam Setup
- Compatibility: Which Laptops Work with External Cameras?
- How to Choose the Right External Camera for Your Needs
- Frequently Asked Questions
- Conclusion
Why Use an External Camera on Laptop?
Your laptop’s built-in camera works fine for quick snapshots. But when it comes to video calls and video streaming, it falls short. Here is why people switch to an external option.
Better Image Quality
Most laptop cameras shoot at 720p or 1080p with small sensors. This means images look flat and noisy, especially in dim rooms. An external camera has a larger sensor and better lens. You get crisp details, natural skin tones, and vibrant colors. It makes a huge difference in how you look on screen.
Improved Low-Light Performance
Built-in webcams struggle in low light. They grain up and lose detail fast. Many usb cameras come with smart light correction. They adjust to dark rooms and keep your face clear. This is perfect for evening calls or rooms with few windows.
More Flexibility and Angles
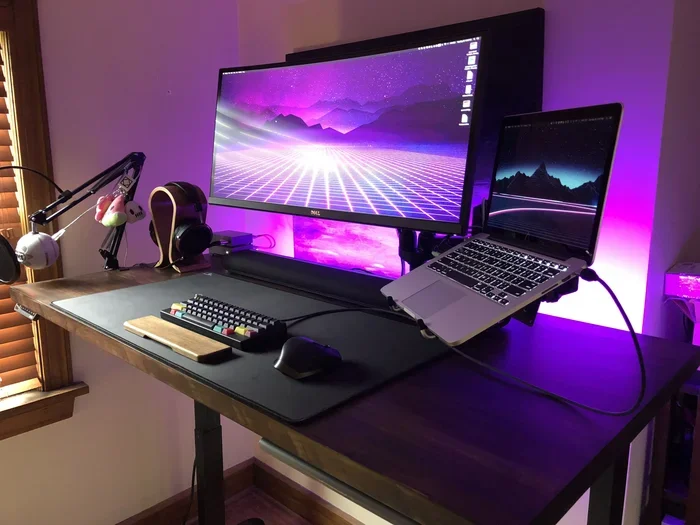
A laptop camera is fixed in one spot. You cannot move it higher or lower. An external webcam sits on a tripod or monitor mount. You can place it at eye level, above your screen, or even off to the side. This small change makes you look much more natural and engaged.
Privacy Features
Many modern usb cameras include a physical privacy shutter. You slide it closed when you are not using the camera. This gives you peace of mind. Built-in laptop cameras have no such feature, which can worry privacy-conscious users.
Types of External Cameras You Can Use
Not all external cameras are the same. Different types serve different needs. Here is a breakdown of the main options.
USB Webcams
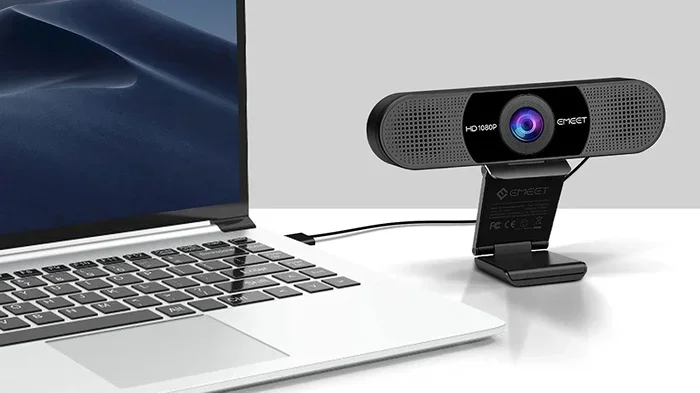
A usb camera is the most popular choice. It plugs directly into your laptop’s USB port. Most models are plug and play, meaning you do not need to install drivers. They work with Windows, Mac, and ChromeOS. USB webcams range from budget-friendly options under $30 to pro-level models over $200.
HDMI Cameras
Some users prefer an HDMI camera for even higher quality. These cameras output a clean HDMI signal. You may need a capture card to connect them to your laptop. HDMI cameras are popular among streamers and content creators. They offer better color depth and less compression than USB options.
Wireless Cameras
Wireless cameras connect via Wi-Fi or Bluetooth. They give you freedom from cables. These are great if your laptop has limited USB ports. However, wireless setups can sometimes have a slight delay. For most video conferencing needs, a wired USB camera works best.
DSLR and Mirrorless Cameras as Webcams
For the best image quality possible, you can use a DSLR or mirrorless camera as your laptop camera alternative. You need a USB capture card or an HDMI capture device. This setup is expensive but delivers stunning results. Many professional streamers and YouTubers use this approach.
How to Connect an External Camera to Your Laptop
Setting up an external webcam is straightforward. Follow these steps and you will be ready in minutes.
Step 1: Check Your Laptop’s Ports
Look at the sides of your laptop. Do you have a free USB port? Most laptops have at least one USB-A or USB-C port. If your camera uses USB-C and your laptop only has USB-A, grab a simple adapter. This small accessory solves most connection problems.
Step 2: Plug in the Camera
Connect the camera to your laptop using the cable that came with it. For usb cameras, just plug it in. For HDMI models, connect the HDMI cable to the camera and the capture card, then plug the capture card into your laptop.
Step 3: Install Drivers (If Needed)
Most plug and play cameras work immediately. Your laptop should recognize the device within seconds. If it does not, visit the camera manufacturer’s website. Download the latest driver for your model. Restart your laptop after installation.
Step 4: Select the Camera in Your App
Open your video conferencing app like Zoom, Microsoft Teams, or Google Meet. Go to the settings or preferences menu. Look for the camera option. Select your external camera from the list. You should see yourself on the preview screen right away.
Step 5: Adjust Settings
Once the camera is selected, adjust the settings for the best look. Brightness, contrast, and focus are usually adjustable in the app. Some cameras come with their own software for fine-tuning. Play around until the image looks natural and clear.
Quick Tips for the Best Video Call Experience
Getting the camera connected is only half the battle. Here are some quick tips to make your video meetings look professional.
- Position the camera at eye level. This creates a natural, flattering angle. Use a tripod or stack books under the camera if needed.
- Use good lighting. Face a window or use a desk lamp. A ring light works wonders for evening calls.
- Check your background. A clean, tidy background looks much better than a messy room.
- Test before your call. Always do a quick test in your app before joining an important meeting.
- Use a privacy shutter. Close it when you are not on a call. It is a simple habit that protects your privacy.
- Update your camera software. Manufacturers release updates that improve performance and fix bugs.
Top External Cameras for Laptop Video Calls
Not sure which camera to buy? Here are some popular options that work great as an external camera on laptop setup.
Budget Pick: Logitech C270
The Logitech C270 costs around $30. It shoots at 720p and delivers solid quality for the price. It is a true plug and play camera with no software needed. This is a great starter option for anyone new to external webcams.
Mid-Range Pick: Logitech C920
The C920 is a fan favorite at around $70. It shoots at full 1080p with excellent color and sharpness. The built-in microphone is also very good. It works perfectly with Zoom, Teams, and all major video conferencing tools.
Premium Pick: Logitech Brio
The Brio is a top-tier camera at around $150. It shoots at 4K resolution and has HDR support. It performs beautifully in both bright and dim environments. If you want the best video call quality money can buy, this is it.
Best for Streaming: Elgato Facecam
The Elgato Facecam is designed for streamers and content creators. It offers uncompressed video and a wide wide angle lens option. It connects via USB and works with popular streaming software. The image quality is outstanding.
Common Mistakes to Avoid When Using an External Camera
Even with a great camera, small mistakes can ruin your video quality. Here are some common pitfalls and how to avoid them.
Placing the Camera Too Low
A camera placed below your face creates an unflattering angle. It can make you look like you are looking up someone’s nose. Always position the camera at or slightly above eye level. This is one of the easiest ways to improve your on-screen presence.
Ignoring Lighting
No camera, no matter how expensive, can fix bad lighting. If your room is too dark, your image will look grainy. If the light is behind you, your face will be silhouetted. Always light your face from the front. A simple desk lamp or ring light makes a massive difference.
Forgetting to Close the Privacy Shutter
Some people forget that their external camera has a physical shutter. Leaving it open when not in use is a privacy risk. Get into the habit of closing it when you finish your calls. It is a small action with big benefits.
Using the Wrong USB Port
Some USB ports on laptops provide less power than others. If your camera disconnects or acts up, try a different port. USB 3.0 ports are usually the best choice. Avoid using USB hubs unless they are powered.
Not Updating Drivers
Outdated drivers can cause compatibility issues and poor performance. Check the manufacturer’s website regularly for updates. A simple driver update can fix many common problems with camera compatibility.
Expert Insights on External Webcam Setup
We asked a few tech professionals for their tips on getting the most out of an external camera on laptop setup. Here is what they had to say.
Choose resolution based on your needs. If you only attend occasional meetings, 1080p is more than enough. If you stream or record content, consider a 4K option. You do not always need the highest resolution to look great.
Invest in audio too. People notice bad audio faster than bad video. A good USB microphone or headset pairs perfectly with any external camera. Together, they create a professional setup that impresses every time.
Keep your lens clean. It sounds simple, but smudges and fingerprints blur your image. Wipe the lens with a microfiber cloth before important calls. This one habit takes two seconds and makes a big difference.
Use your camera’s software. Many cameras come with companion apps. These apps let you adjust exposure, white balance, and focus. Taking five minutes to explore these settings can seriously boost your video streaming quality.
Compatibility: Which Laptops Work with External Cameras?
The great thing about external cameras is their broad compatibility. Almost any modern laptop can use one. Here is a quick look at the major systems.
| Laptop Type | Compatibility | Notes |
|---|---|---|
| Windows Laptop | Full support | Most cameras are plug and play. Check USB port type. |
| MacBook | Full support | Works with USB-C and Thunderbolt ports. Some models need adapters. |
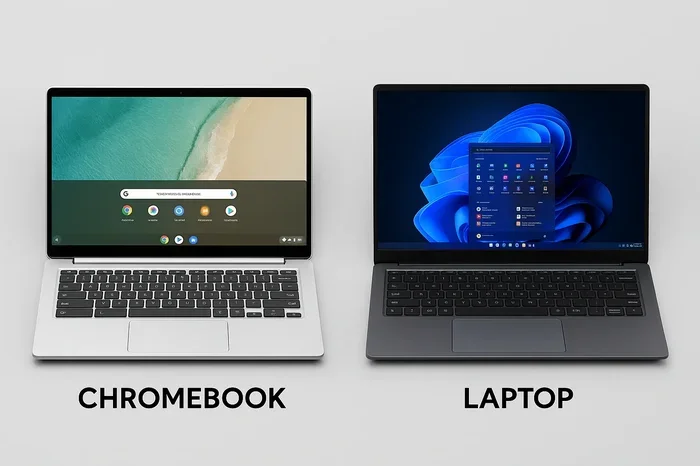
| Chromebook | Full support | Most USB cameras work out of the box with ChromeOS. |
| Linux Laptop | Good support | May need manual driver installation for some models. |
Before buying a camera, check your laptop’s available ports. If you have a USB-C-only laptop like a modern MacBook, grab a USB-C to USB-A adapter. This ensures smooth camera compatibility with any usb camera you choose.
How to Choose the Right External Camera for Your Needs
With so many options on the market, picking the right one can feel overwhelming. Use these guidelines to narrow down your choices.
Consider Your Use Case
Are you using the camera for work meetings, online classes, or streaming? For basic video calls, a 1080p camera is perfect. For streaming or content creation, look for 4K support and manual controls.
Check the Field of View
The field of view determines how much of the room the camera captures. A narrow view (around 65 degrees) is great for solo calls. A wide view (around 90 degrees or more) is better for group meetings or if you move around a lot.
Look for Built-in Microphones
Many usb cameras come with built-in microphones. These save you from buying a separate mic. Check reviews to see if the microphone quality is good enough for your needs.
Think About Portability
If you travel often, pick a compact and lightweight camera. Some models are small enough to fit in your laptop bag. They are perfect for remote workers who move between offices or coffee shops.
Read Reviews Before Buying
Always check user reviews before making a purchase. Look for feedback on image quality, ease of setup, and durability. Real-world experiences help you avoid buying a camera that does not meet your expectations.
Frequently Asked Questions
Can any external camera work with my laptop?
Most external cameras work with any modern laptop that has a USB port. USB cameras are universally compatible with Windows, Mac, and Chromebook systems. If your laptop has a USB port, there is a good chance an external camera will work with it. Just make sure to check the camera’s system requirements before purchasing.
Do I need to install software for an external camera?
Most plug and play cameras work instantly without any software. Your laptop recognizes the camera as soon as you plug it in. Some cameras come with optional software that offers extra features like filters and settings adjustments. However, this software is never required for basic video conferencing use.
Will an external camera improve my video call quality?
Absolutely. External cameras have larger sensors and better lenses than built-in laptop cameras. They produce sharper images, better colors, and improved performance in low light. If you regularly attend video meetings, an external camera is one of the best upgrades you can make.
Can I use a DSLR camera as an external webcam?
Yes, you can use a DSLR or mirrorless camera as a laptop camera alternative. You will need a capture card, either USB or HDMI. This setup delivers professional-grade image quality. It is popular among streamers and content creators who want the best possible look.
How do I switch my video call app to use the external camera?
Open your video conferencing app and go to Settings or Preferences. Find the Camera section and select your external camera from the dropdown list. You should see a live preview of yourself. If you do not see it, try unplugging and replugging the camera or restarting the app.
Are wireless external cameras reliable for video calls?
Wireless cameras work well for most uses, but they can have slight delays compared to wired options. For important video calls where timing matters, a wired USB camera is more reliable. Wireless cameras are great for casual use and offer more freedom with cable placement.
Conclusion
Using an external camera on laptop for video calls is one of the simplest and most effective upgrades you can make. It takes just a few minutes to set up, and the results speak for themselves. You get sharper images, better colors, and a more professional look every time you join a video meeting.
Whether you pick a budget usb camera or a premium 4K model, the difference from your built-in built-in webcam is night and day. Follow the setup steps in this guide, avoid the common mistakes, and you will be confident on camera in no time.
Remember to check your camera compatibility with your laptop, use good lighting, and keep your lens clean. These small habits make a big impact. Now that you know how easy it is to connect an external webcam, there is no reason to settle for poor video quality again. Pick a camera that fits your needs, plug it in, and enjoy crystal-clear video conferencing from your laptop starting today.