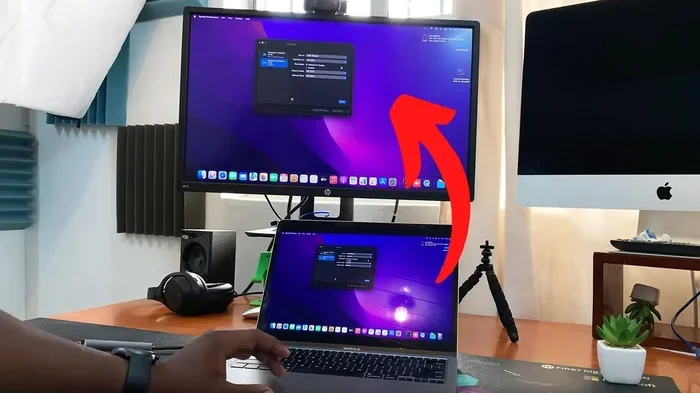
Can I Use Macbook As Hdmi Screen For External Monitor
Yes, you can use your MacBook as an HDMI screen with the right adapter and cable setup. Whether you own a MacBook Pro or MacBook Air, connecting to an external display is straightforward once you know the right ports and tools. This guide walks you through every step, from choosing the best HDMI adapter to fixing common connection issues.
So, you want to know if you can use your MacBook as an HDMI screen. Maybe you need a second display for work, or you want to connect your laptop to your TV for movie night. Either way, the answer is yes. You absolutely can use your MacBook as an HDMI screen, and the process is simpler than you might think.
Connecting a MacBook to an external monitor opens up a world of productivity. You get more screen space, better multitasking, and a bigger display for creative work. But the method depends on your MacBook model, the ports it has, and the right accessories. In this guide, we will walk you through everything you need to know. From choosing the right adapter to setting up your display, we have got you covered.
Key Takeaways
- Use a USB-C to HDMI adapter: Most modern MacBooks need a USB-C or Thunderbolt adapter to connect to an HDMI display.
- Check your MacBook model: Older MacBooks have mini DisplayPort, while newer ones use USB-C or Thunderbolt 3/4 ports.
- Adjust display settings in macOS: You can mirror or extend your screen through System Settings after connecting.
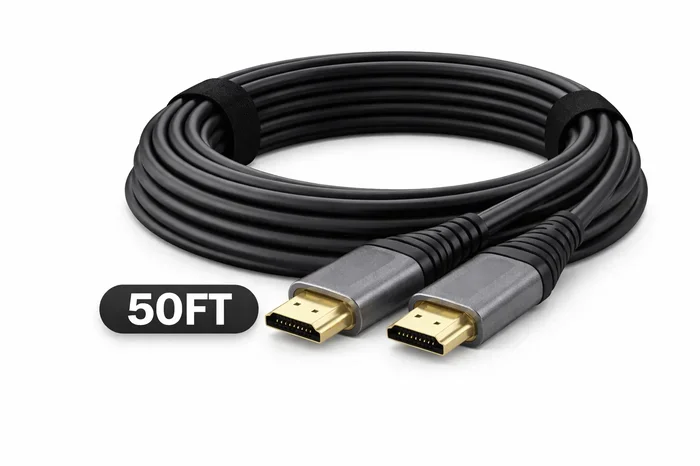
- Choose the right HDMI cable: Not all cables support the same resolution. Pick one that matches your needs.
- Docking stations offer more ports: A USB-C docking station gives you HDMI, USB, and charging in one hub.
- Troubleshoot common issues: Check cable connections, adapter compatibility, and macOS updates if your screen doesn’t work.
📑 Table of Contents
- Understanding MacBook Ports and HDMI Connections
- How to Connect Your MacBook to an HDMI Screen
- Setting Up Your Display in macOS
- Common HDMI Connection Issues and How to Fix Them
- Using a Docking Station for Better HDMI Connectivity
- Can You Use a MacBook as a Monitor for Another Device?
- Expert Tips for the Best HDMI Experience with Your MacBook
- Final Thoughts on Using MacBook as HDMI Screen
Understanding MacBook Ports and HDMI Connections
Before you buy any cable or adapter, it helps to understand what ports your MacBook has. Different models use different connection types, and this directly affects how you can connect to an external display.
USB-C and Thunderbolt Ports on Modern MacBooks
Most MacBooks made after 2016 use USB-C or Thunderbolt ports. These small, oval-shaped ports do double duty. They charge your laptop and carry video signals to external displays. If your MacBook has USB-C ports, you are in luck. A simple USB-C to HDMI adapter will do the job.
Thunderbolt 3 and Thunderbolt 4 ports look identical to regular USB-C ports. But they offer faster data transfer and better video output support. You can plug a USB-C to HDMI cable directly into a Thunderbolt port and it will work perfectly. This makes connecting to a monitor or TV very easy.
Older MacBook Models and HDMI
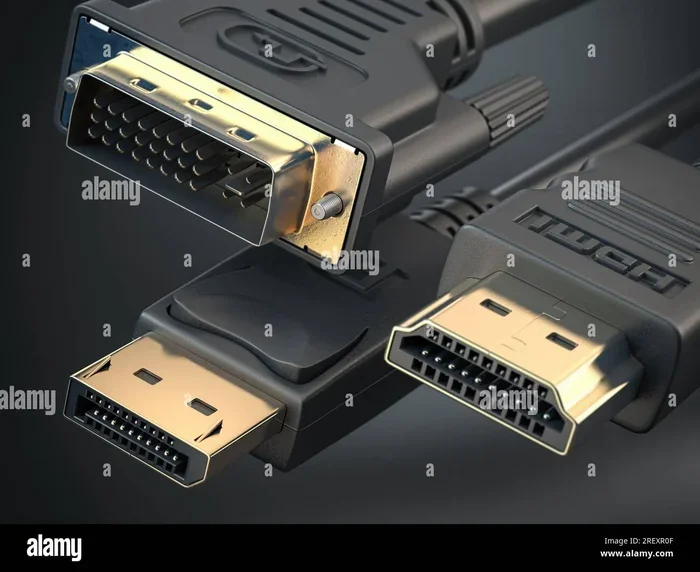
If you own an older MacBook, the connection process is a bit different. MacBooks from 2012 to 2015 often have a mini DisplayPort. You will need a mini DisplayPort to HDMI adapter or cable. These adapters are still widely available online and in electronics stores.
Some older MacBook Pro models from 2011 and earlier even had full-size HDMI ports built right in. If your laptop has one, you can plug an HDMI cable directly from your MacBook to your monitor or TV. No adapter needed. Just make sure your cable is in good condition and supports the resolution you need.
MacBook Air vs MacBook Pro HDMI Support
Both the MacBook Air and MacBook Pro can connect to HDMI displays. The difference lies in the port type and the number of external displays you can support. Newer MacBook Air models with USB-C ports support one external display. MacBook Pro models, especially the 14-inch and 16-inch versions, can sometimes support two external displays depending on the chip and year.
Here is a quick comparison to help you understand what your model can do:
| MacBook Model | Port Type | HDMI Adapter Needed? | Max External Displays |
|---|---|---|---|
| MacBook Air M1/M2/M3 | USB-C | Yes, USB-C to HDMI | 1 |
| MacBook Pro 14″ M2/M3 | Thunderbolt 4 | Yes, USB-C to HDMI | 1 or 2 |
| MacBook Pro 16″ M2/M3 | Thunderbolt 4 | Yes, USB-C to HDMI | 1 or 2 |
| MacBook Pro 2015 and older | mini DisplayPort | Yes, mini DisplayPort to HDMI | 1 |
| MacBook Pro 2011-2012 | HDMI (some models) | No | 1 |
How to Connect Your MacBook to an HDMI Screen
Now that you know which ports and adapters you need, let us walk through the actual setup process. It takes just a few minutes, and you will be up and running in no time.
Step-by-Step Connection Guide
Follow these simple steps to connect your MacBook to an HDMI monitor or TV:
- Identify your MacBook port type. Look at the sides of your laptop. Do you see USB-C, Thunderbolt, or mini DisplayPort symbols next to the ports?
- Buy the right adapter or cable. If your MacBook has USB-C, get a USB-C to HDMI adapter or a USB-C to HDMI cable. If you have a mini DisplayPort, get a mini DisplayPort to HDMI adapter.
- Plug the adapter into your MacBook. Insert the USB-C or mini DisplayPort end firmly into your laptop.
- Connect the HDMI cable. Plug one end of the HDMI cable into the adapter and the other end into your external monitor or TV.
- Turn on the external display. Make sure your monitor or TV is powered on and set to the correct HDMI input source.
- Configure display settings on your Mac. Go to System Settings, then Displays, to choose how you want your screens to work.
That is it. Six simple steps and you are connected. The whole process takes less than five minutes once you have the right gear.
Choosing the Best HDMI Adapter for MacBook
Not all adapters are created equal. When shopping for a USB-C to HDMI adapter, look for these features:
- 4K support: Make sure the adapter supports at least 4K resolution at 60Hz for a crisp, clear picture.
- Brand reliability: Stick with trusted brands like Anker, Belkin, or Apple. Cheap knockoff adapters can cause flickering or no signal at all.
- Pass-through charging: Some adapters let you charge your MacBook while using the HDMI connection. This is a huge convenience.
- Build quality: A metal-bodied adapter tends to last longer and dissipate heat better than plastic ones.
Quick tip: Always read reviews before buying. A well-reviewed adapter saves you from headaches later. Avoid the cheapest option on the shelf. A slightly more expensive adapter from a reputable brand will give you a stable, reliable connection every time.
Setting Up Your Display in macOS
Once the physical connection is in place, you need to configure how your MacBook interacts with the external screen. macOS gives you several options to customize your setup.
Mirror vs Extended Display
When you connect your MacBook to an HDMI screen, macOS asks how you want to use it. You have two main choices:
- Mirror Display: Your external screen shows the exact same image as your MacBook screen. This is great for presentations, watching videos on a TV, or sharing your screen with a group.
- Extended Display: Your external monitor becomes a second workspace. You can drag windows and apps between screens. This is perfect for multitasking and boosting productivity.
To switch between these modes, go to System Settings, click Displays, and look for the dropdown menu that says “Use as” or “Show displays together.” From there, you can choose mirror or extend.
Adjusting Resolution and Arrangement
You can also tweak the resolution and arrangement of your displays. In the Displays settings, you can drag the monitor icons to match their physical placement on your desk. This ensures your cursor moves naturally between screens. You can also set a custom resolution for each display to get the sharpest image possible.
Quick tip: If text looks blurry on your external monitor, try lowering the resolution slightly. Sometimes the default HDMI resolution does not match the monitor’s native resolution perfectly. A small adjustment can make a big difference.
Common HDMI Connection Issues and How to Fix Them
Even with the right adapter and cable, you might run into problems. Here are the most common issues and how to solve them.
No Signal on External Monitor
If your external monitor shows no signal, do not panic. Start with the basics. Check that the HDMI cable is firmly plugged into both the adapter and the monitor. Try a different HDMI port on your monitor. And if you are using a docking station, unplug it and connect directly to your MacBook to rule out the dock as the problem.
Also, make sure your adapter is compatible with your MacBook model. Some older adapters do not work well with newer USB-C or Thunderbolt laptops. If you recently updated macOS, a software glitch might also cause display issues. Restarting your MacBook often fixes this.
Flickering or Distorted Image
A flickering screen usually means your cable or adapter is not delivering a stable signal. Try a higher-quality HDMI cable. Cheap cables often struggle with 4K resolution and can cause flickering. Also, check that your adapter supports the resolution you are trying to use.
Another common cause is an incompatible display refresh rate. Go to System Settings, Displays, and check the refresh rate setting. If your monitor supports 120Hz but your adapter only handles 60Hz, you might see flickering or stuttering.
Sound Not Working Through HDMI
HDMI cables carry both video and audio. But sometimes your Mac sends video to the external display without sending sound. To fix this, go to System Settings, click Sound, and select your HDMI monitor as the output device. This routes your audio through the HDMI connection to your TV or external speakers.
Using a Docking Station for Better HDMI Connectivity
If you connect to external displays often, a docking station is a game-changer. A USB-C docking station plugs into your MacBook and gives you multiple ports in one device. Most docking stations include an HDMI port, USB-A ports, an SD card reader, and even an Ethernet jack.
The beauty of a docking station is convenience. Instead of plugging in multiple adapters every time, you just connect one USB-C cable to your MacBook. Everything else is already wired up. This saves time and reduces wear and tear on your laptop ports.
When choosing a docking station, look for one that supports the HDMI resolution you need. If you want 4K output, make sure the dock explicitly states 4K support. Popular options include the CalDigit TS4, Anker 777, and Satechi USB-C Pro Dock. These are reliable, well-built, and work seamlessly with macOS.
Can You Use a MacBook as a Monitor for Another Device?
Here is a question that comes up often. Can you use your MacBook screen as an HDMI input for another device, like a PlayStation or a cable box? The short answer is no. Apple does not include HDMI input support on any MacBook model. Your MacBook can only output video through HDMI, not receive it as an input.
Some people try software solutions or third-party capture cards to work around this limitation. While these methods can work in specific scenarios, they are not straightforward and often introduce lag. If your goal is to use your MacBook as a monitor for a gaming console or another computer, a dedicated external monitor is a much better choice.
Quick tip: If you just need extra screen space, consider using a portable USB-C monitor instead. These lightweight displays connect directly to your MacBook and work as a true second screen without any hassle.
Expert Tips for the Best HDMI Experience with Your MacBook
Here are some insider tips that will help you get the most out of your MacBook-to-HDMI setup:
- Keep your macOS updated. Apple regularly improves display compatibility and performance in macOS updates. Running the latest version ensures the smoothest HDMI experience.
- Use high-quality HDMI cables. A certified Premium High Speed HDMI cable supports 4K resolution and HDR content without any issues.
- Close your MacBook lid carefully. If you use your MacBook with an external display and close the lid, make sure you have an external keyboard and mouse. macOS supports clamshell mode, but it requires your MacBook to be plugged in.
- Manage cable strain. Use a cable management clip or a USB-C hub with a secure cable lock. This prevents accidental disconnections that can disrupt your work.
- Test different refresh rates. If your external monitor supports high refresh rates, try switching to 120Hz in your display settings. This makes scrolling and animations feel much smoother.
Final Thoughts on Using MacBook as HDMI Screen
Using your MacBook as an HDMI screen is entirely possible and very practical. Whether you want to extend your workspace, mirror your display for a presentation, or connect to a TV for entertainment, the right adapter and cable make it happen. The process is simple, the setup is fast, and the results are rewarding.
Remember to check your MacBook model, choose a compatible adapter, and configure your display settings in macOS. If you run into issues, the troubleshooting tips in this guide should help you resolve them quickly. With the right setup, your MacBook becomes a versatile hub for productivity and entertainment.
Take some time today to explore your options. Try connecting your MacBook to a monitor or TV and see how it transforms the way you work and play. Once you experience the extra screen space, you will wonder how you ever managed without it.
Frequently Asked Questions
Can I connect my MacBook directly to an HDMI cable without an adapter?
Only if your MacBook has a built-in HDMI port. Some older MacBook Pro models from 2011 and 2012 include a full-size HDMI port. Most modern MacBooks use USB-C or Thunderbolt ports, so you will need a USB-C to HDMI adapter or cable to connect to an HDMI display.
What is the best USB-C to HDMI adapter for MacBook?
Some of the best options include the Anker USB-C to HDMI adapter, the Belkin USB-C to HDMI adapter, and the Apple USB-C Digital AV Multiport Adapter. Look for adapters that support 4K resolution at 60Hz and are made by reputable brands to ensure a stable connection.
Why does my external monitor show no signal when connected to my MacBook?
Try unplugging the HDMI cable and adapter, then plugging them back in firmly. Check that your monitor is set to the correct HDMI input source. Also, restart your MacBook and make sure your macOS is up to date. If the problem persists, try a different HDMI cable or adapter to rule out a faulty accessory.
Can I use my MacBook as a second monitor for another computer using HDMI?
No, MacBooks do not support HDMI input. They can only output video through HDMI. If you want to use your MacBook as a second screen, consider using built-in features like Sidecar with another Apple device, or use a USB-C portable monitor as an alternative.
Does using HDMI affect MacBook battery life?
Yes, sending video to an external display uses extra power. If you are working on battery power, your MacBook will drain faster when connected to an HDMI monitor. To preserve battery life, plug your MacBook into a charger while using an external display.
Can I run two external HDMI monitors with my MacBook?
It depends on your MacBook model. Newer MacBook Pro models with M2 or M3 chips can support up to two external displays. Most MacBook Air models support only one external display. Check your specific model on Apple’s website to confirm how many external monitors it can handle.
=== CONCLUSION ===
Using your MacBook as an HDMI screen is easy, practical, and incredibly useful. Whether you are working from home, giving a presentation, or enjoying movies on a bigger screen, the right HDMI setup makes all the difference. Pick the right adapter, connect your cable, adjust your display settings, and you are good to go. With the tips and troubleshooting advice in this guide, you will handle any challenge that comes your way. Start setting up your external display today and enjoy the extra screen space your MacBook can provide.