Can You Extend Starlink Wifi Everything You Need to Know
Can You Extend Starlink Wifi? Yes, you absolutely can. Whether you live in a large home or deal with wifi dead zones, there are proven methods to boost your Starlink wifi coverage. You can use a wifi repeater, set up a mesh network, or connect via ethernet backhaul. This guide covers every option so you can pick the best solution for your setup. Read on to learn exactly how to extend Starlink wifi and get strong signal everywhere.
So you just got your Starlink wifi set up and everything works great in the living room. But walk into the bedroom or head out to the backyard and the signal drops to nothing. Sound familiar? You are not alone. Many Starlink users face this exact problem, and the big question on everyone’s mind is the same: can you extend Starlink wifi?
The short answer is yes. You can extend Starlink wifi in several ways. Some methods are simple and cheap. Others cost a bit more but deliver much better results. In this guide, we will walk through every option step by step. By the end, you will know exactly which method fits your home, your budget, and your needs.
Starlink wifi works differently from traditional home internet. The Starlink dish connects to a router via satellite, and the router broadcasts the wifi signal throughout your space. The problem is that satellite internet has some unique challenges. The signal has to travel from space to your dish, then through the router, and then out to your devices. Every step can weaken the signal. This is why many homes need a little help to get full coverage.
Before we dive into solutions, let us talk about why this matters. Strong wifi coverage means faster speeds, fewer buffering moments, and a better experience for everyone in your household. Whether you are working from home, streaming movies, or just browsing the web, you deserve a connection that works everywhere. And that is exactly what we will help you achieve.
Key Takeaways
- Yes, you can extend Starlink wifi: Multiple methods work, from simple repeaters to full mesh systems.
- Mesh networks are the best option: They provide seamless coverage without losing speed.
- Ethernet backhaul gives the fastest results: A wired connection between your router and extender keeps bandwidth high.
- The Starlink Gen 2 router has better range: Upgrading can solve many coverage issues on its own.
- Placement matters more than gear: Where you put your router and extender affects performance more than the device itself.
- Avoid cheap repeaters: They often cut your speed in half and create more problems than they solve.
- Test your signal first: Use a speed test to find dead zones before buying any equipment.
📑 Table of Contents
- What Is Starlink Wifi and Why Would You Want to Extend It?
- Can You Extend Starlink Wifi? Yes, Here Is How
- The Best Methods to Extend Starlink Wifi Coverage
- Comparing Starlink Wifi Extender Options
- Common Mistakes When Extending Starlink Wifi
- Expert Tips for Getting the Most From Your Starlink Wifi
- Frequently Asked Questions
- Conclusion
What Is Starlink Wifi and Why Would You Want to Extend It?
Starlink wifi comes from the Starlink router that ships with your satellite internet kit. The router connects to the Starlink dish, which communicates with satellites orbiting Earth. The router then creates a local wifi network that your phones, laptops, smart TVs, and other devices can connect to.
The stock Starlink router does a decent job in small to medium homes. But it was not designed for every situation. Large houses, multi-story buildings, thick walls, and long distances all weaken the wifi signal. If your home has more than 1,500 square feet, there is a good chance you will run into coverage gaps.
Here are some common reasons people need to extend Starlink wifi:
- Large homes: The signal cannot reach every room from one router.
- Thick walls and insulation: Building materials block wireless signals more than you might expect.
- Multiple floors: Upper floors and basements often get weak signal.
- Outdoor spaces: Patios, garages, and gardens are usually far from the router.
- Too many devices: More devices mean more demand on the network, which can slow things down.
- Dead zones: Certain areas just get no signal at all.
Understanding why your Starlink wifi might need help is the first step. Once you know the cause, you can pick the right fix.
Quick Tips
- Start by running a wifi speed test in different rooms to map your dead zones.
- Move your Starlink router to a central, elevated location before buying any extra gear.
- Keep the router away from metal objects, microwaves, and thick walls.
Can You Extend Starlink Wifi? Yes, Here Is How
The good news is that extending Starlink wifi is very doable. You do not need to be a tech expert either. There are several methods available, and they range from super simple to more advanced. Let us look at each one so you can decide what works best for you.
The main ways to extend Starlink wifi are:
- Wifi repeaters or boosters — simple devices that pick up your existing signal and rebroadcast it.
- Mesh network systems — multiple units that work together to create one seamless network.
- Ethernet backhaul — using a wired connection to link your router to an access point.
- Upgrading your router — swapping the stock Starlink router for a more powerful one.
Each method has pros and cons. We will break them all down in the next section. But first, let us clear up a common question many people ask.
Does Extending Starlink Wifi Slow Down Your Internet?
This is the biggest concern for most people. The honest answer is: it depends on the method you choose. A cheap wifi repeater can cut your speed in half because it uses the same radio to receive and send data. A mesh network or ethernet backhaul, on the other hand, can extend your coverage with very little speed loss. So the method you pick really matters.
The Best Methods to Extend Starlink Wifi Coverage
Now let us get into the details. This is where you will find the real solutions that work. We will cover each method thoroughly so you can make an informed choice.
Method 1: Using a Wifi Repeater
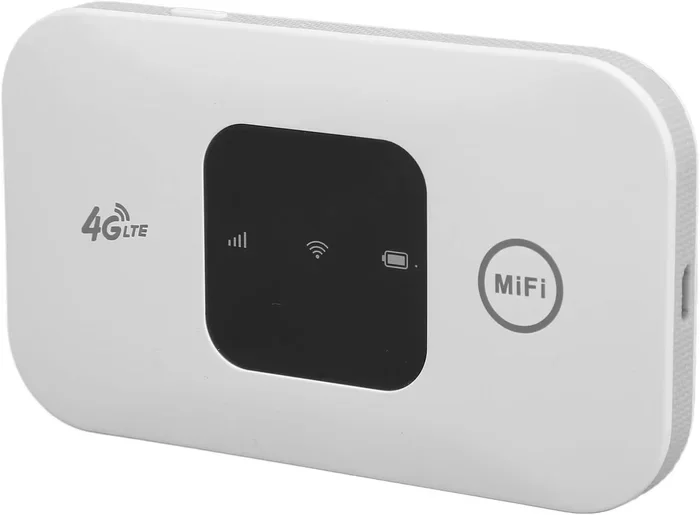
A wifi repeater is the simplest and most affordable way to extend Starlink wifi. The device plugs into a wall outlet, picks up your existing Starlink wifi signal, and rebroadcasts it to areas that need better coverage.
Repeaters work well for small coverage gaps. If you have one room that gets a weak signal, a repeater can often fix the problem. They are easy to set up too. Most repeaters use a plug-and-play design, so you do not need any technical skills.
However, repeaters have limitations. They work by receiving and retransmitting the same signal, which means they use up bandwidth. In real-world terms, this often means slower speeds for devices connected through the repeater. If you need fast speeds for gaming or video calls, a repeater alone might not be enough.
Best for: Small homes, single dead zones, and budget setups.
Common Mistakes
- Placing the repeater too far from the router. It needs a strong signal to rebroadcast effectively.
- Buying the cheapest model. Low-cost repeaters often have poor performance and weak antennas.
- Setting it up in a corner or closet. The repeater needs a clear line of signal to work well.
Method 2: Setting Up a Mesh Network
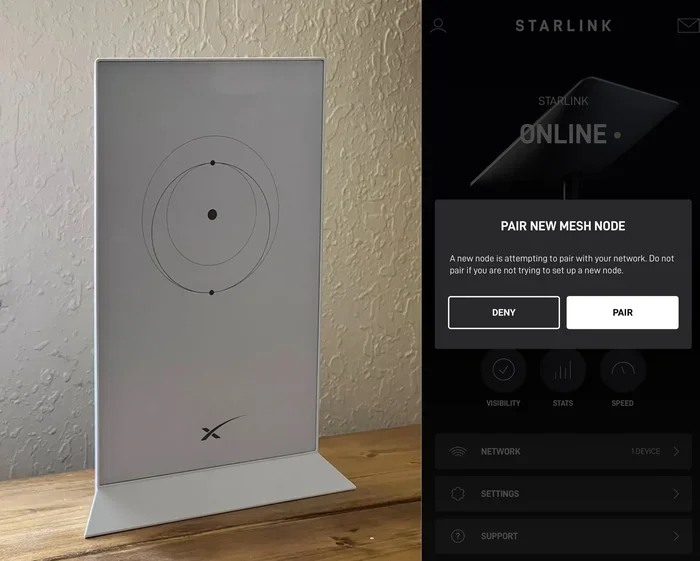
A mesh network is the gold standard for extending Starlink wifi. Instead of one router broadcasting from a single point, a mesh system uses multiple units, called nodes or satellites, placed around your home. These nodes communicate with each other and create one unified network with a single name and password.
The biggest advantage of a mesh system is seamless roaming. You can walk from your living room to your backyard, and your device will automatically switch to the strongest node without dropping the connection. This is a huge upgrade over traditional repeaters.
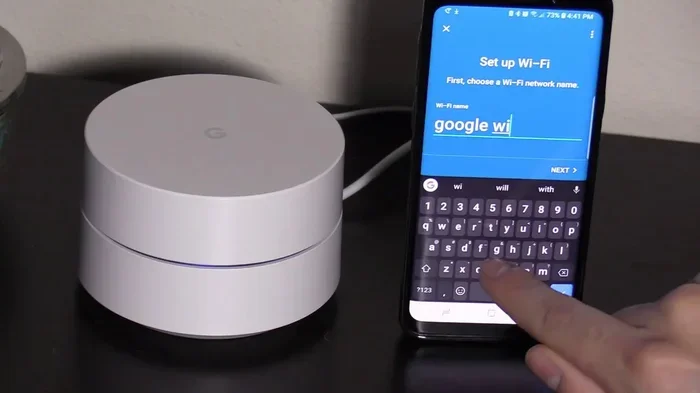
Popular mesh systems that work well with Starlink include brands like Eero, Google Nest Wifi, TP-Link Deco, and Netgear Orbi. Most of these systems connect to your Starlink router via ethernet or wifi and extend the network coverage throughout your property.
Best for: Medium to large homes, multi-story buildings, and users who need consistent speeds everywhere.
Expert Insight
Networking experts recommend placing mesh nodes halfway between your router and the area with weak signal. This ensures each node gets a strong enough connection to relay data effectively. Also, try to keep nodes within 30 to 40 feet of each other for the best performance.
Method 3: Using Ethernet Backhaul
Ethernet backhaul is the most reliable way to extend Starlink wifi. It involves running an ethernet cable from your Starlink router to a second router or access point placed in the area that needs better coverage. Because the connection between the two devices is wired, you get the full speed of your Starlink internet at the second location.
This method is ideal for people who want the best possible performance. Unlike wireless repeaters, ethernet backhaul does not lose any bandwidth. The second access point delivers the same fast speeds as the main router.
The downside is that you need to run a cable through your home. This can be a bit of a project. Some people run cables along baseboards, through door frames, or even in attic spaces. If you are renting or cannot drill holes, this method might not be practical.
Best for: Tech-savvy users, home offices, and situations where speed is the top priority.
Method 4: Upgrading to the Starlink Gen 2 Router
Starlink recently introduced the Gen 2 router, which has better range and improved wifi coverage compared to the original model. If you are still using the older router, upgrading might solve your coverage problems without adding extra equipment.
The Gen 2 router supports WiFi 6 technology, which offers faster speeds and better handling of multiple devices. It also has a more powerful antenna design, which helps the signal reach farther. If your home has moderate coverage issues, this upgrade alone might be all you need.
You can order the Gen 2 router through your Starlink account. It is a simple swap that takes just a few minutes. Just keep in mind that this router works best when paired with the newer Starlink hardware, including the Gen 2 dish.
Best for: Users with moderate coverage issues who want a simple, no-fuss solution.
Comparing Starlink Wifi Extender Options
Choosing the right method can feel overwhelming. To help you decide, here is a quick comparison of the main options for extending Starlink wifi.
| Method | Ease of Setup | Speed Impact | Cost Range | Best For |
|---|---|---|---|---|
| Wifi Repeater | Very Easy | Moderate Speed Loss | $20 – $60 | Small homes, budget users |
| Mesh Network | Easy | Minimal Speed Loss | $100 – $400 | Large homes, seamless coverage |
| Ethernet Backhaul | Moderate | No Speed Loss | $50 – $150 (cable + AP) | Speed-focused setups |
| Router Upgrade | Very Easy | Improved Range | $100 – $200 | Moderate coverage issues |
As you can see, each method has its place. Your choice should depend on your home size, budget, and how much speed you can afford to lose. For most users, a mesh network offers the best balance of ease, performance, and coverage.
Quick Tips for Choosing
- Measure your home square footage before buying anything.
- Count how many dead zones you actually have.
- Check if your Starlink plan supports the equipment you want to use.
- Read reviews carefully. Not all wifi extenders are created equal.
Common Mistakes When Extending Starlink Wifi
Even with the right equipment, people often make mistakes that hurt their Starlink wifi performance. Here are the most common ones to avoid.
Placing the Extender Too Far from the Router
This is the number one mistake. If you place your wifi repeater or mesh node too far from the main router, it will not get a strong enough signal to rebroadcast. The result is slow speeds and dropped connections. A good rule of thumb is to place your extender within range of a strong signal from the main router.
Using Too Many Devices on One Network
Adding an extender or mesh node does not increase your total bandwidth. It just spreads the existing bandwidth to more areas. If you have 30 devices all streaming, gaming, and video calling at the same time, even the best extender will struggle. Consider managing your network usage or upgrading your Starlink plan if needed.
Ignoring the Starlink Dish Placement
Sometimes the problem is not your router or extender. It is the Starlink dish itself. If your dish has a poor view of the sky or is blocked by trees and buildings, the incoming satellite signal will be weak. This weakness affects your entire network, no matter how good your extender is. Make sure your dish has a clear, unobstructed view of the northern sky.
Not Updating Your Router Firmware
Starlink regularly releases firmware updates that improve wifi performance and fix bugs. If you have not checked for updates in a while, your router might be running outdated software. Keeping your firmware current is a simple step that can make a big difference.
Expert Tips for Getting the Most From Your Starlink Wifi
Want to squeeze every bit of performance out of your Starlink wifi? Here are some expert-backed tips that make a real difference.
Optimize Your Router Placement
Where your router sits matters a lot. Place it in a central location in your home, preferably on a higher shelf or mounted on a wall. Avoid hiding it in a closet, cabinet, or behind furniture. The more open space around the router, the better the signal distribution will be.
Use the Starlink App to Diagnose Issues
The Starlink app has a built-in wifi analyzer tool. It shows you signal strength in different parts of your home. Use this tool to identify problem areas before you buy any extender. It is a free and easy way to get a clear picture of your network coverage.
Consider a Dedicated Access Point
If you have ethernet wiring in your home, consider adding a dedicated wireless access point. This is different from a repeater because it connects via cable and creates a strong, reliable access point in the area that needs it. This is one of the best ways to get fast, stable wifi coverage in hard-to-reach spots.
Separate Your 2.4 GHz and 5 GHz Bands
Most Starlink routers broadcast both 2.4 GHz and 5 GHz signals. The 2.4 GHz band reaches farther but is slower. The 5 GHz band is faster but has a shorter range. If you are far from the router, connect to the 2.4 GHz band for better reach. If you are close, use the 5 GHz band for maximum speed.
Keep Your Equipment Cool
Routers generate heat, and too much heat can slow them down or cause disconnections. Make sure your Starlink router has good airflow. Do not stack other electronics on top of it. In hot environments, consider adding a small fan or cooling pad.
Expert Insight
According to networking professionals, the biggest factor in Starlink wifi performance is not the extender you buy. It is where you place your equipment. Take the time to find the best spot for your router before adding any additional hardware. A well-placed router often eliminates the need for an extender entirely.
Frequently Asked Questions
Can I Use Any Wifi Extender With Starlink?
Yes, most standard wifi extenders work with Starlink. The Starlink router acts like any other wifi router, so compatible extenders, repeaters, and mesh systems will connect to it. Just make sure the extender supports the same wifi standards as your Starlink router for the best results.
Does Extending Starlink Wifi Affect Internet Speed?
It can, depending on the method. Wireless repeaters may reduce your speed by 30 to 50 percent because they share the same radio for sending and receiving. Mesh networks and ethernet backhaul cause much less speed loss, often under 10 percent. Choose your method wisely to keep speeds as high as possible.
Do I Need a Special Router to Extend Starlink Wifi?
No, you do not need a special router. Your Starlink router works with most third-party extenders and mesh systems. However, upgrading to the Starlink Gen 2 router can improve range on its own and make the whole process easier. The Gen 2 router has better antennas and supports WiFi 6.
Can I Extend Starlink Wifi Outdoors?
Yes, you can extend Starlink wifi outdoors. The best way is to use a mesh node or access point placed near a window or exterior wall facing your outdoor area. Some weatherproof outdoor access points are also available for patios and garages. Keep in mind that walls and windows can weaken the signal, so placement matters a lot.
How Many Extenders Can I Use With Starlink?
There is no strict limit, but adding too many devices can congest your network. A good setup usually includes one or two extenders or mesh nodes. If you need more coverage, consider running ethernet cables to additional access points instead of adding more wireless extenders.
Is It Better to Extend Starlink Wifi With Ethernet or Wirelessly?
Ethernet backhaul is almost always better for speed and reliability. A wired connection does not lose bandwidth the way wireless methods do. However, running cables is more work. If you cannot use ethernet, a high-quality mesh system is the best wireless alternative for extending Starlink wifi.
Conclusion
Can you extend Starlink wifi? Absolutely. Whether you choose a simple wifi repeater, a full mesh network, ethernet backhaul, or a router upgrade, there is a solution that fits your needs. The key is understanding your home, identifying your weak spots, and picking the right method for the job.
Start by testing your current wifi coverage with the Starlink app. Find the dead zones and figure out how far the signal needs to travel. Then choose your method based on budget, home size, and speed needs. And remember, placement is everything. Even the best extender will underperform if it is not positioned correctly.
Extending Starlink wifi does not have to be complicated or expensive. With the right approach, you can enjoy strong, reliable internet in every corner of your home. Take action today, and say goodbye to wifi dead zones for good.