Can I Use My Projector On A Window For Outdoor Viewing
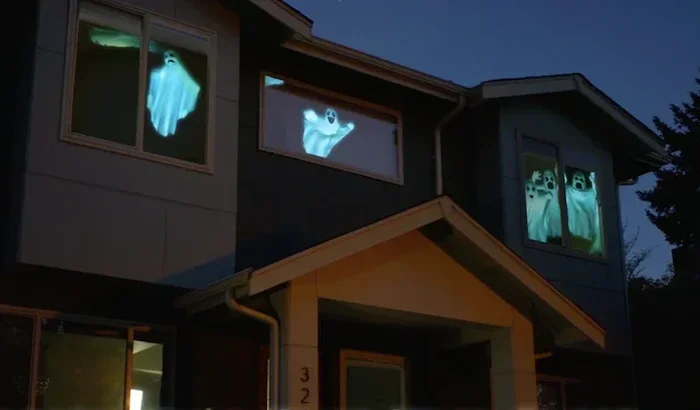
Yes, you can use your projector on a window for outdoor viewing, and it is one of the easiest ways to create an instant outdoor screen. With the right projector brightness, positioning, and a few simple accessories, you can transform any window into a big outdoor movie screen. This guide covers everything you need to know about projecting onto a window for the best outdoor entertainment experience.
Have you ever wondered if you can use your projector on a window for outdoor viewing? The short answer is yes, and it is one of the simplest ways to create an instant outdoor entertainment setup. Whether you want to host a backyard movie night, watch the big game on a large surface, or just enjoy a film under the stars, your window can become a surprisingly effective projection screen.
Using a projector on a window has become increasingly popular among homeowners who want a quick and affordable outdoor cinema experience. You do not need to buy an expensive screen or mount anything permanently. All you need is a compatible projector, the right placement, and a few helpful tips. In this guide, we will walk you through everything you need to know about projecting onto a window for the best possible results.
Outdoor movie nights are a fantastic way to bring friends and family together. And if you already own a projector, you are halfway there. The window acts as a natural screen, especially during evening hours when ambient light is low. Let us dive into the details of how to make this work beautifully.
Key Takeaways
- Window projection works great: A window can serve as a surprisingly effective screen for outdoor movie nights and gatherings.
- Brightness matters most: You need a projector with enough lumens to overcome ambient light coming through the glass.
- Positioning is key: Placing the projector at the right distance and angle makes a huge difference in image quality.
- Window film can help: Anti-reflective or blackout window film improves contrast and reduces glare for a better picture.
- Avoid common mistakes: Don’t ignore room lighting, projector placement, or glass quality if you want a clear image.
- It is budget-friendly: Using a window saves you money on buying a dedicated outdoor projection screen.
📑 Table of Contents
- Why You Should Try Projecting Onto a Window
- How to Set Up Your Projector on a Window
- Best Types of Projectors for Window Projection
- Dealing with Ambient Light and Visibility Issues
- Window Film and Accessories That Help
- Pros and Cons of Using a Window for Outdoor Projection
- Common Mistakes to Avoid
- Expert Tips for the Best Window Projection Experience
- Can I Use My Projector on a Window: Final Verdict
Why You Should Try Projecting Onto a Window
There are many reasons why using a window as a projection surface is a great idea. It is convenient, cost-effective, and surprisingly effective when done right. Here are some of the top benefits:
- No extra equipment needed: You do not need to buy a separate projection screen. Your window already provides a flat, wide surface.
- Quick setup: You can set up a projector in minutes and start watching almost immediately.
- Portability: Most projectors are lightweight and easy to move from room to room or indoors to outdoors.
- Cost savings: Outdoor projection screens can be expensive. Using your window eliminates that cost entirely.
- Great image quality at night: When the sun goes down, a window can produce a bright and vivid image with the right projector.
Many people also enjoy the nostalgic feel of watching movies through a glass window. It adds a unique charm that a plain white screen simply cannot replicate. If you have ever struggled with adding prefixes to numbers on iPhone to organize your movie playlist, you know how small details matter for a smooth outdoor movie night.
How to Set Up Your Projector on a Window
Setting up your projector on a window is straightforward, but there are a few important steps to follow. Getting the placement right will make a huge difference in the quality of your projected image. Here is a simple step-by-step guide.
Step 1: Choose the Right Window
Not every window is ideal for projection. Look for a window that faces away from street lights and other bright light sources. A larger window will give you a bigger image, so consider your living room or patio window carefully. Make sure the glass is clean and free of smudges or scratches, as these can distort the picture.
Step 2: Position the Projector Correctly
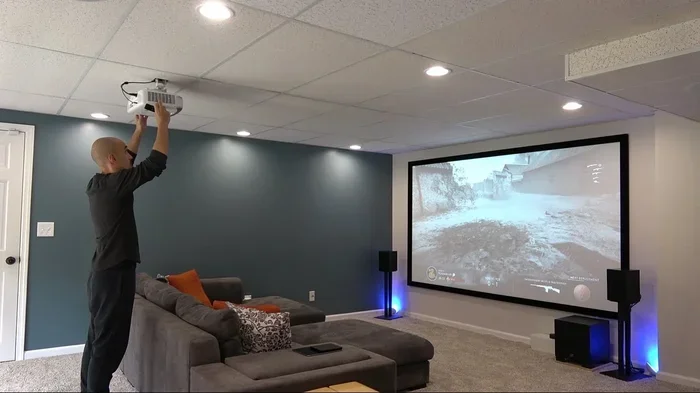
Place your projector on a stable surface directly across from the window. The distance between the projector and the window determines the size of the image. Most projectors come with a throw ratio guide that tells you the ideal distance. Try to keep the projector level and centered with the window for the best results.
If you are dealing with a situation where a line won’t delete in Microsoft Excel while you are tracking your projector settings and movie schedule, you know how frustrating tech hiccups can be. Just like cleaning up that spreadsheet, getting your projector placement right takes a little patience.
Step 3: Adjust the Focus and Keystone
Once the projector is in place, adjust the focus ring until the image looks sharp. Most modern projectors also have keystone correction, which helps straighten the image if the projector is not perfectly aligned with the window. Use these settings to get the clearest picture possible.
Step 4: Connect Your Source and Test
Connect your laptop, streaming device, or media player to the projector. Play a test image or video to check the brightness, color, and overall quality. Make any adjustments needed before your guests arrive.
Best Types of Projectors for Window Projection
Not all projectors are created equal when it comes to outdoor use. The type of projector you choose will directly affect the quality of your window projection. Here is what to look for.
Brightness (Lumens)
Brightness is the most important factor for outdoor projection. For daytime or early evening use, you want a projector with at least 3,000 lumens. For nighttime viewing, 1,500 to 2,000 lumens is usually sufficient. The higher the lumen count, the better the image will look against ambient light.
Contrast Ratio
A high contrast ratio helps your projected image look sharp and vibrant. Look for projectors with a contrast ratio of at least 2,000:1. This ensures that dark scenes look deep and rich, and bright scenes look vivid without washing out.
Resolution
For the best picture quality, choose a projector with at least 1080p resolution. If budget allows, 4K projectors offer stunning detail. Even a standard 720p projector can work well for casual outdoor viewing at night.
Portability
If you plan to move your projector between rooms or take it to different outdoor locations, look for a portable model. Many compact projectors weigh under five pounds and come with built-in batteries, making them perfect for backyard gatherings.
Dealing with Ambient Light and Visibility Issues
One of the biggest challenges of projecting onto a window is handling ambient light. During the day, sunlight can wash out your image and make it nearly impossible to see. Even in the evening, streetlights and porch lights can reduce contrast and clarity.
Here are some practical ways to deal with ambient light when using a projector on a window:
- Wait until it is dark outside: The simplest solution is to start your movie after sunset. This gives you the best natural conditions for projection.
- Close blinds or curtains: Blocking light from inside the room helps reduce glare on the glass surface.
- Use a projector with high brightness: A brighter projector can compete with remaining ambient light more effectively.
- Position the projector in a shaded area: If possible, set up the projector where it is not directly exposed to any light source.
- Use a black backdrop behind the window: Placing a dark sheet or fabric behind the window absorbs stray light and improves contrast.
Understanding how ambient light affects your image is key to getting the best results. The less light competing with your projector, the sharper and more colorful your picture will be.
Window Film and Accessories That Help
Sometimes, a plain window is not enough to deliver the best projection quality. Fortunately, there are several affordable accessories that can significantly improve your setup.
Anti-Reflective Window Film
Anti-reflective window film reduces glare and helps the projected image look clearer. You can apply it directly to the glass and remove it easily when you are done. This is one of the most popular upgrades for people who frequently project onto windows.
Blackout Window Film
Blackout film blocks light from passing through the glass, which can be helpful if you are projecting from inside to outside. It also improves the contrast of your image by preventing light from the other side of the window from interfering.
Projector Mounts and Stands
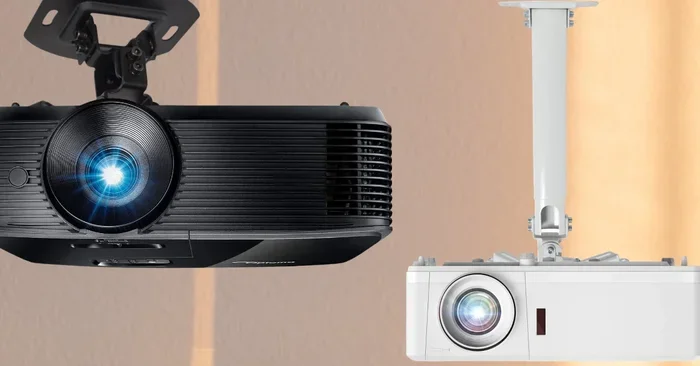
A sturdy projector mount or stand keeps your device stable and at the correct angle. This is especially important for outdoor use where wind and uneven surfaces can cause the image to shift. Look for adjustable mounts that allow you to fine-tune the position.
Portable Outdoor Screens as Alternatives
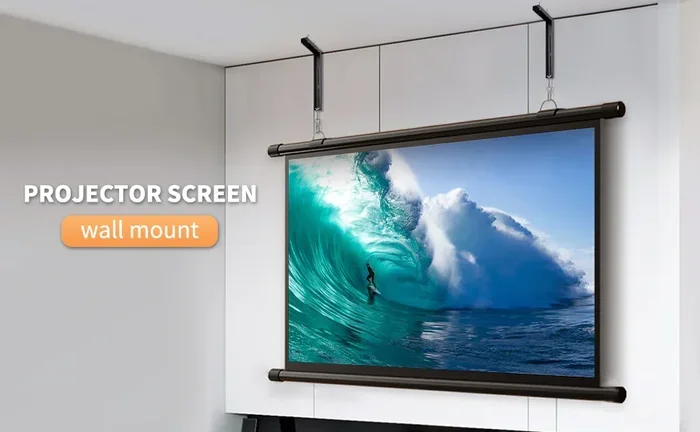
If you find that your window does not produce the best image, consider a portable outdoor screen as a backup. These screens are designed to work with projectors and often provide better color and contrast than a glass surface. But for quick setups, a window still works wonderfully.
Pros and Cons of Using a Window for Outdoor Projection
Before you commit to using your window as a projection screen, it helps to weigh the advantages and disadvantages. Here is a quick comparison:
| Pros | Cons |
|---|---|
| No extra cost for a screen | Glass can cause glare and reflections |
| Quick and easy setup | Ambient light can reduce visibility |
| Large surface area available | Image quality may not match a dedicated screen |
| Works well at night | Window cleanliness affects picture quality |
| Portable and flexible | Not ideal for daytime use without special film |
Overall, using a window for outdoor projection is a practical and affordable option. The pros often outweigh the cons, especially for evening gatherings and casual movie nights.
Common Mistakes to Avoid
Even with the best projector, there are some common mistakes that can ruin your outdoor viewing experience. Avoid these pitfalls to get the best results:
- Ignoring ambient light: Trying to project during daylight hours without proper brightness or light control will give you a washed-out image.
- Placing the projector too close or too far: Getting the distance wrong can make the image too small, too large, or blurry.
- Forgetting to clean the window: Dust, fingerprints, and smudges on the glass will distort the projected image.
- Using the wrong projector settings: Always adjust the brightness, contrast, and color settings for outdoor viewing conditions.
- Neglecting the sound: Projector speakers are often weak. Consider adding a portable Bluetooth speaker for better audio.
- Not testing before the event: Always do a test run before your guests arrive so you can fix any issues.
By avoiding these mistakes, you can enjoy a smooth and enjoyable outdoor movie experience every time you set up your projector on a window.
Expert Tips for the Best Window Projection Experience
Here are some expert-level tips that can take your window projection setup to the next level:
- Use a white sheet behind the window: Hanging a white sheet a few inches behind the glass can brighten the image and improve visibility.
- Angle the projector slightly downward: This helps prevent the image from stretching at the top and gives you a more uniform picture.
- Invest in a good audio solution: A small portable speaker paired with your projector makes a big difference in sound quality.
- Consider the weather: Wind can shake your projector setup. Place it on a stable, weighted surface to keep the image steady.
- Experiment with different movies: High-contrast movies with dark scenes and bright colors tend to look the best on a window projection.
These tips come from experience and can help you avoid common frustrations. A little preparation goes a long way toward creating a memorable outdoor viewing event.
Can I Use My Projector on a Window: Final Verdict
So, can I use my projector on a window for outdoor viewing? Absolutely. It is one of the easiest and most affordable ways to enjoy a big-screen experience in your own backyard. With the right projector, proper placement, and a few simple accessories, you can create an impressive outdoor cinema setup in no time.
The key is to understand your equipment and the conditions you are working with. Brightness, positioning, and ambient light all play a role in determining how well your projected image will look. Start simple, experiment with your setup, and make adjustments as needed.
Whether you are hosting a movie night for friends, watching the big game, or enjoying a quiet evening with family, projecting onto a window is a fun and practical solution. Give it a try, and you might just discover your new favorite way to enjoy entertainment outdoors.
Remember, the best setup is the one that works for you. Do not let imperfect conditions stop you from trying. With a little creativity and the right approach, your window can become the centerpiece of your next outdoor gathering.
Frequently Asked Questions
Can I project onto a window during the day?
It is possible but challenging. You need a very bright projector with at least 3,000 lumens and you should block as much ambient light as possible. Using blackout window film and closing blinds helps a lot. For best results, wait until evening hours.
Do I need a special screen to project on a window?
No, you do not need a special screen. The window itself serves as the projection surface. However, applying anti-reflective film or hanging a white sheet behind the glass can significantly improve image quality.
What type of projector works best for window projection?
A projector with at least 2,000 lumens and 1080p resolution works well for most window setups. Portable projectors are especially convenient for outdoor use because they are easy to move and set up.
Will the glass affect the image quality?
Yes, glass can cause some glare and slight distortion. Cleaning the window thoroughly before setup helps a lot. Using anti-reflective window film can also reduce glare and improve overall picture clarity.
How do I prevent my projector from falling over outdoors?
Place your projector on a flat, stable surface. You can also use a projector mount or stand for added stability. Weight the setup with sandbags or heavy objects if wind is a concern in your area.
Is window projection good for large groups?
Yes, especially if you have a large window. A bigger window allows for a larger projected image, which is ideal for group viewing. Just make sure your projector has enough brightness to fill the space comfortably.
=== CONCLUSION ===
Using your projector on a window for outdoor viewing is a simple, affordable, and fun way to enjoy movies and entertainment under the open sky. With the right setup, a little preparation, and these practical tips, you can create an impressive outdoor cinema experience without spending a fortune on equipment. The key is to manage ambient light, position your projector correctly, and choose a window that gives you the best surface for projection. Whether you are a movie lover, a sports fan, or just looking for a unique way to entertain guests, projecting onto a window is a fantastic option to explore. Give it a try at your next outdoor gathering and see how easy and rewarding it can be.